This guide shows you how to install and use the J1 EDL Booter app. It is a small Android app that reboots the Snapmaker J1's display computer straight into Qualcomm EDL mode (the special flashing mode you need for the Klipper installation), without having to open the printer case or press any hidden buttons.
This app has exactly one purpose: getting the display into EDL mode so you can flash a different OS onto it. It's a one-shot tool — you install it, use it once right before the actual Klipper flashing procedure, and uninstall it again with a single click.
The app is safe to install and use: it only reboots the device into EDL mode, it does not modify, delete or overwrite anything on your system.
¶ What you need
- A USB keyboard
- A USB stick with the
j1_edl_booter.apkfile on it (get it from the installation bundle) - A few free minutes and both hands, since USB devices need to be plugged and unplugged during the process
¶ Before you start
A few things behave a little unusually on the J1's display, so please read this first:
- The Snapmaker J1 app is installed as the launcher. If you back out of the Android settings, the J1 app will simply start again — that's expected and not a problem.
- The J1 app locks any USB storage device for its own exclusive use. If you plug in a USB stick while the J1 app is running, you won't be able to access it from anywhere else until the J1 app is stopped.
- Installing an app from a USB stick requires "Unknown sources" to be enabled in Android first.
- You must open the app right from the install confirmation screen. The app can only install its auto-start hook while it is actually running. There is no launcher or file manager on the box to start it afterwards, so if you close the install screen without opening it, your only way back is to uninstall and reinstall the app.
- Unplug all USB devices (keyboard and stick) before tapping anything on the touchscreen to trigger a reboot — this applies both when you reboot into EDL mode and later when you exit or uninstall the app.
¶ Step 1: Open the Android system menu
The J1's screen normally shows the regular Snapmaker printer interface.
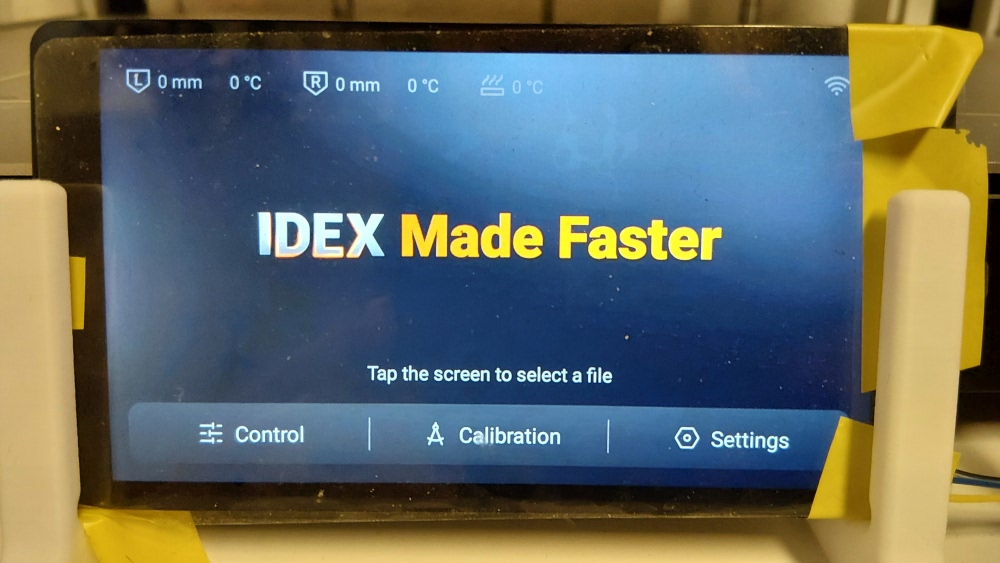
Plug in a USB keyboard and press Windows key + N to pull down the Android notification/quick-settings shade. This is the way into the underlying Android system.
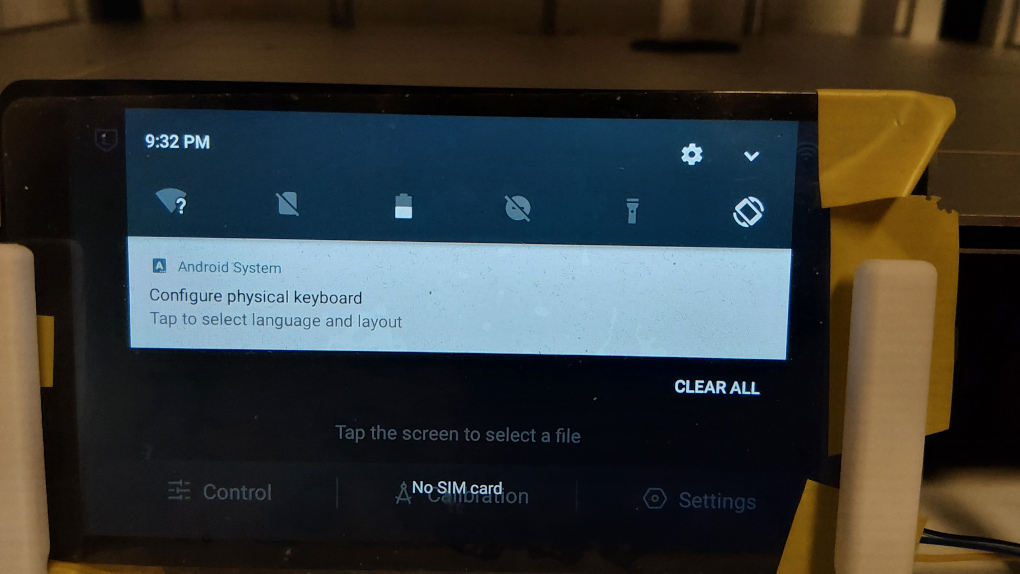
If your keyboard doesn't have a Windows key (e.g. some Mac keyboards), you may need to try the Command key or another equivalent instead. This hasn't been tested extensively — if you find a combination that works, please share it.
¶ Step 2: Allow app installation from unknown sources
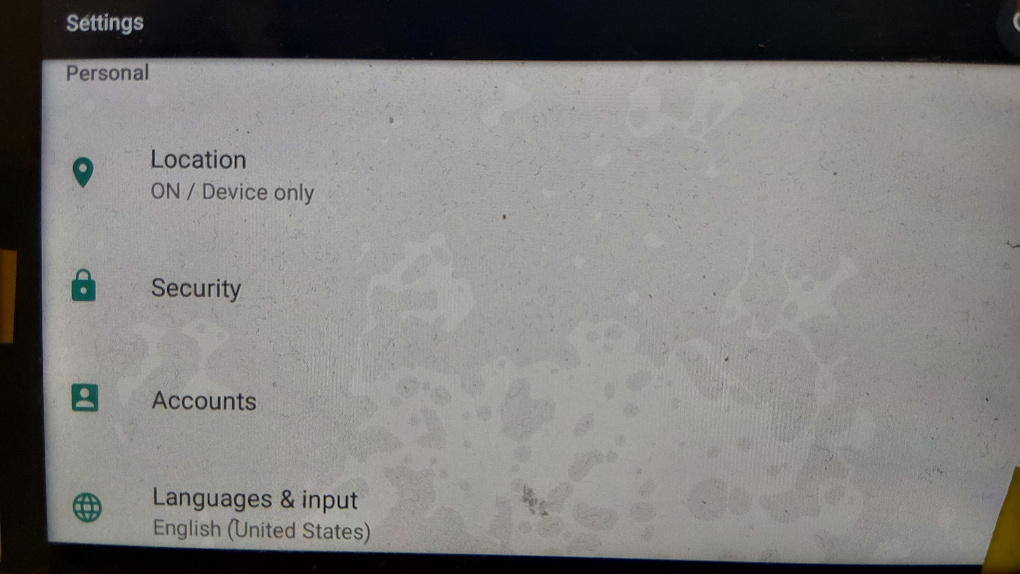
Open the gear icon to get to Settings, then go to Personal → Security.
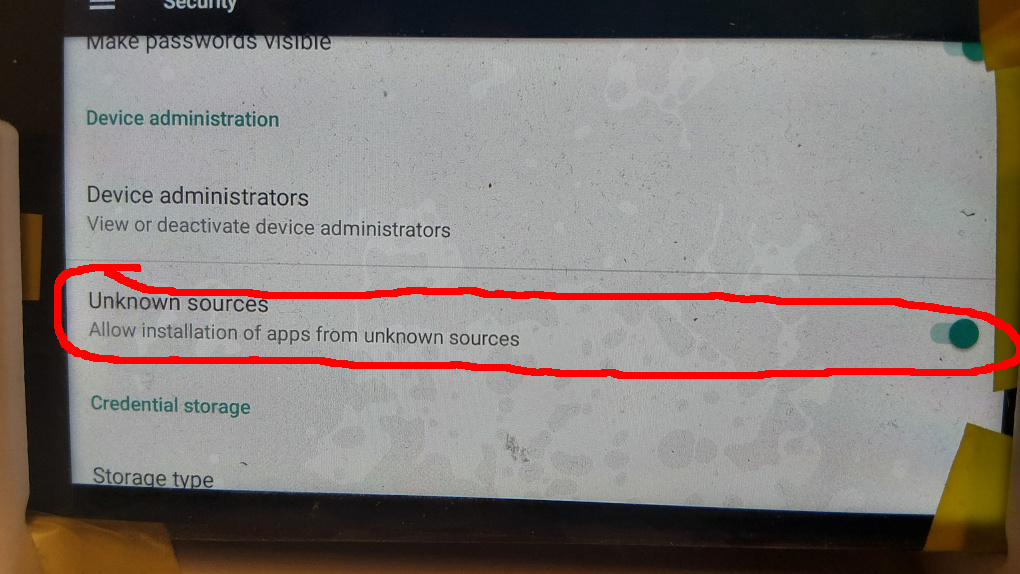
Scroll down to Unknown sources and switch it on. This allows installing the EDL Booter app, which isn't from the Play Store.
¶ Step 3: Stop the J1 app
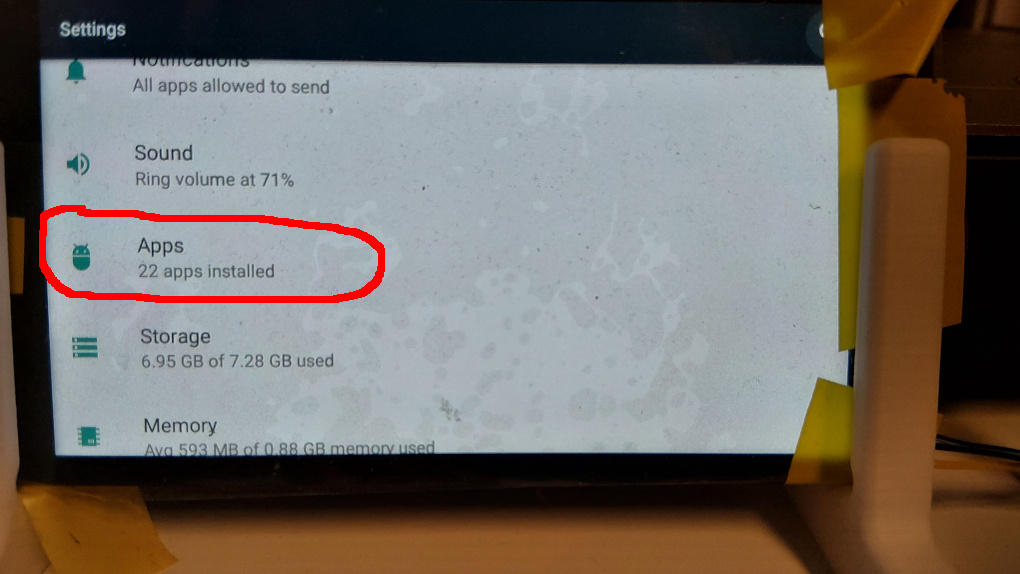
Go back to the main Settings screen and open Apps.
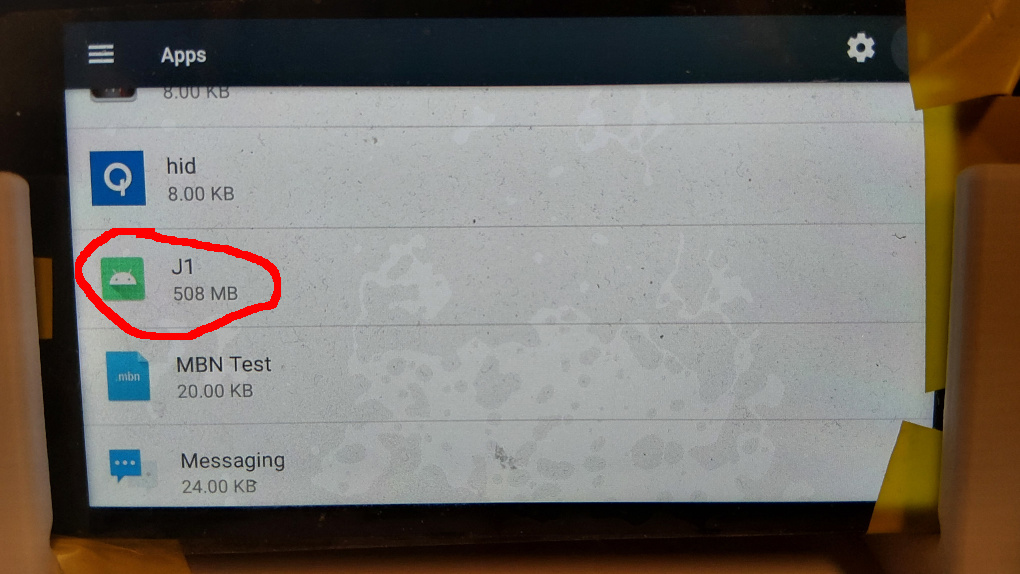
In the app list, find and tap J1 — this is the Snapmaker printer interface app.
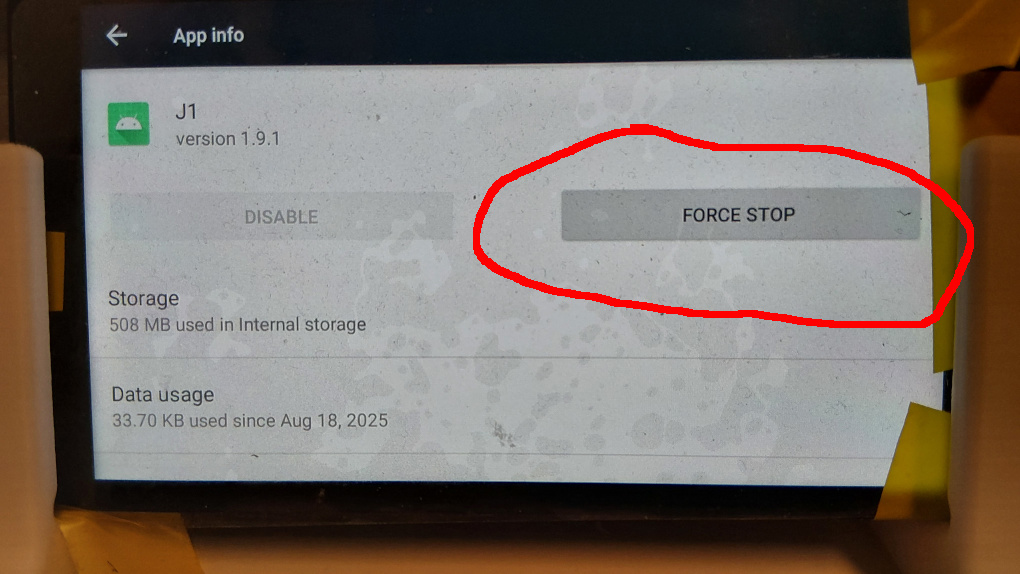
On the app info screen, tap Force Stop. This is necessary because the J1 app otherwise keeps exclusive control of any USB storage device, and you won't be able to install the APK from your USB stick.
¶ Step 4: Plug in the USB stick and install the app
Plug your USB stick with j1_edl_booter.apk on it into the printer.
Go back to Settings → Storage and confirm your USB stick shows up under Portable storage.
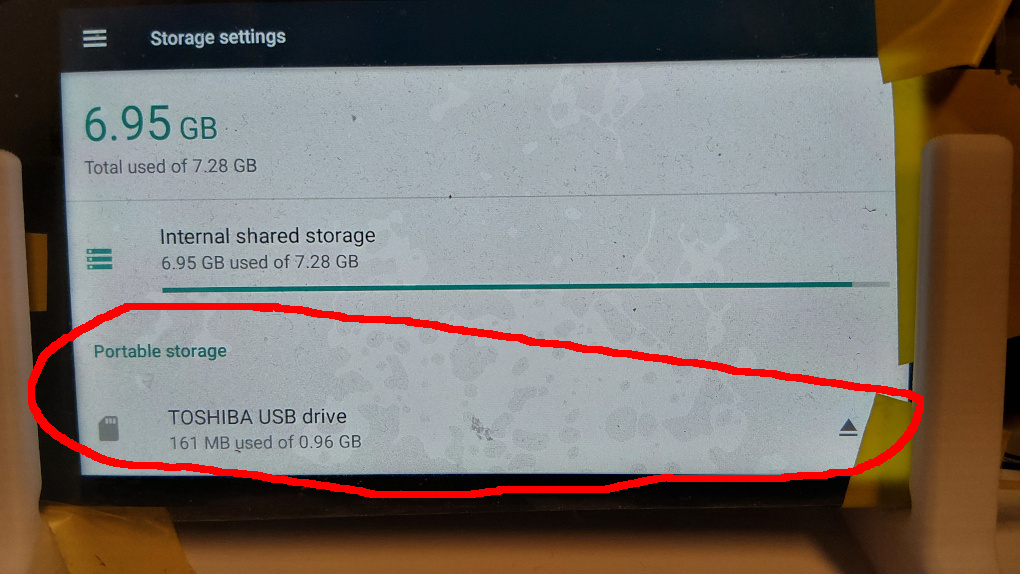
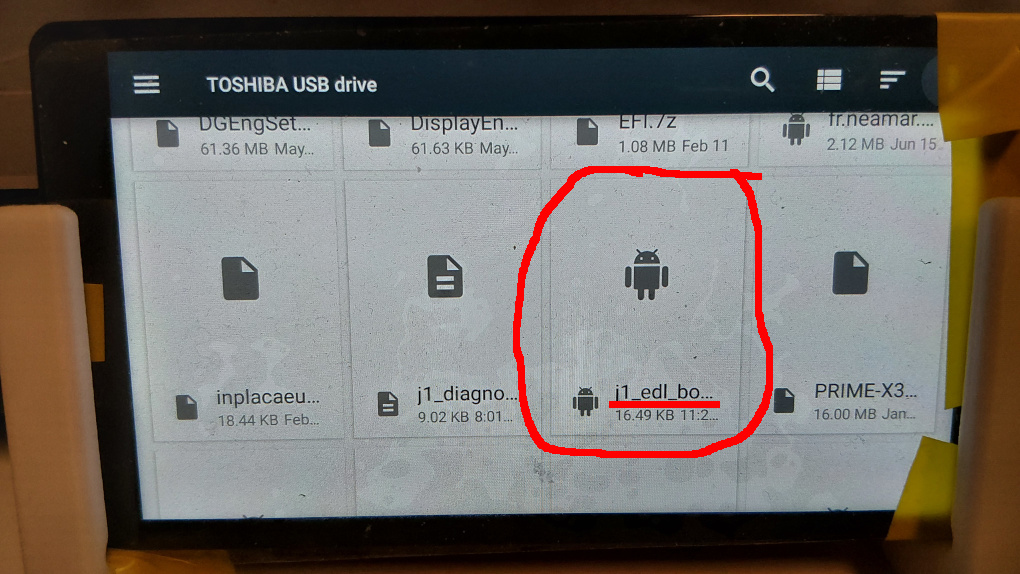
Tap on the USB drive to browse its contents, then tap the j1_edl_booter file to start the installation.
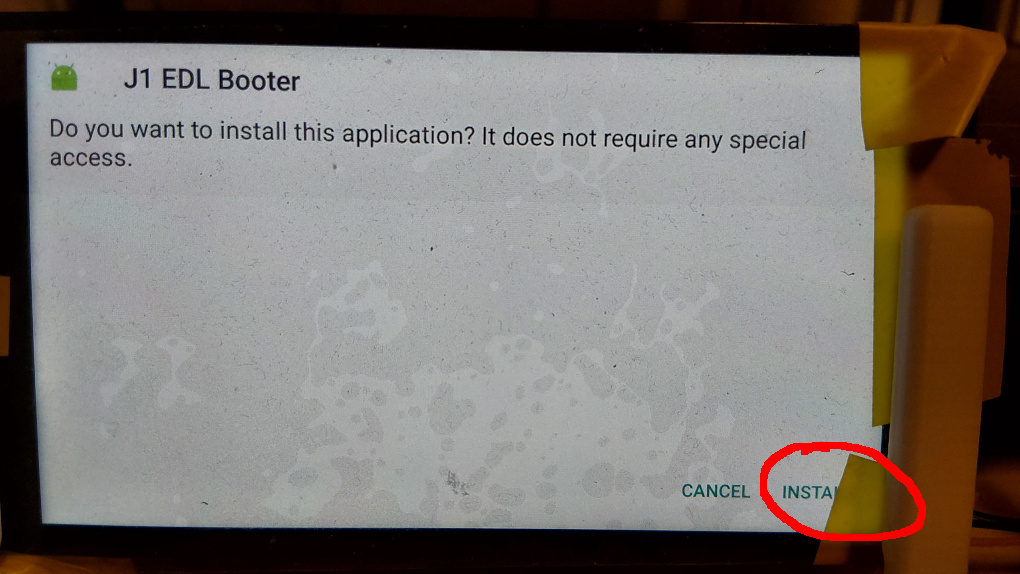
Confirm the install dialog by tapping INSTALL.
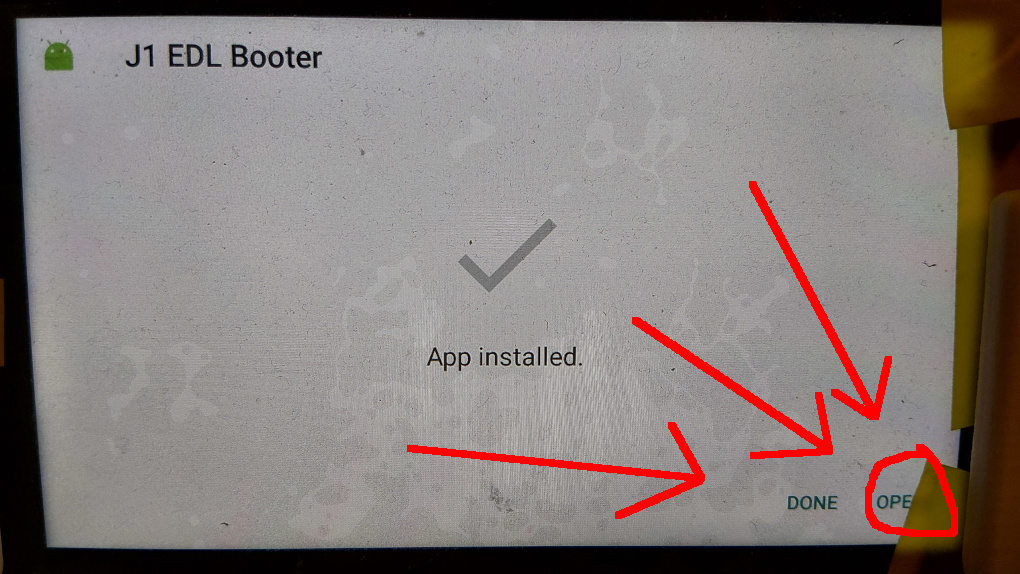
Tap OPEN now, not "Done". The app can only set up its auto-start hook while it's running, and there is no other app on the box you could use to launch it afterwards — if you skip this, you'll need to uninstall and reinstall it to get another chance.
¶ Step 5: Reboot into EDL mode
The J1 EDL Booter app opens with a small permission check and four buttons: EXIT, DIAGNOSTICS, REBOOT TO EDL and UNINSTALL.
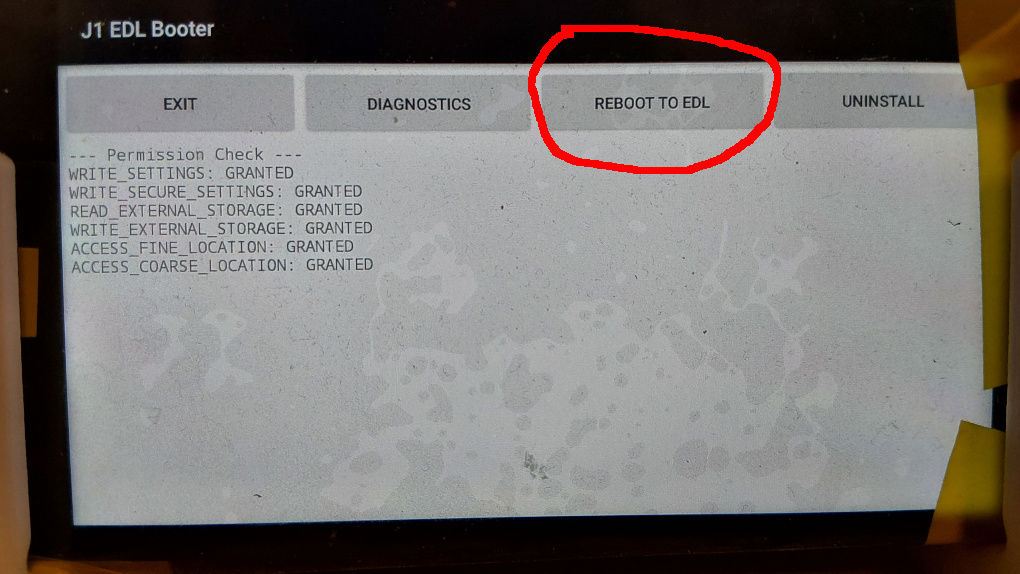
Before you tap REBOOT TO EDL, unplug all USB devices from the printer, including your keyboard and the USB stick. Then tap REBOOT TO EDL.
The screen will go black and stay black — this is normal. The display computer has rebooted into Qualcomm EDL mode and is now waiting for a USB connection from your flashing computer. You can now continue with the Klipper installation guide, connecting your Linux computer to the J1's front USB port.
¶ If something failed or when in doubt
If you rebooted into EDL mode but haven't flashed yet and want to get out of it:
- The J1 EDL Booter app starts automatically on every Android boot until it is uninstalled — you don't need to reinstall it each time.
- Tap EXIT to close the app and let the normal J1 printer interface start.
- Tap UNINSTALL to remove the app completely once you no longer need it.
Remember to unplug all USB devices before tapping EXIT, UNINSTALL or REBOOT TO EDL on the touchscreen.